

Did you follow that?
If you actually clicked over to the tutorial, you'll see that it uses half the yardage that most other tutorials would use by simply cutting the width of the fabric in half and then sewing the two pieces together. I was able to buy 3 yards instead of 6. Basically, with most other tutorials you're either paying the same, if not more, than you would if you had just bought the Moby Wrap in the first place.
My thoughts on the tutorial and resulting baby wrap:
1. Great idea for using half yardage. I was able to make a wrap for half the price.
2. Very straightforward directions...if you have the space. The hardest part was getting the fabric lined up to cut since it uses a knit fabric. I did it in my hallway since it was kind of long enough but it wasn't wide enough and a certain 2-year-old was constantly running across the fabric.
3. There is a step to sew patterned fabric over the center seam (which is a nice, neat french seam) so I chose some super awesome fabric somehow failed to notice the pink factor on this one until it showed up at my door:
 |
| Source |
Not sure how I missed that. I looked at a local quilt shop for an alternative but found absolutely nothing that interested me so I decided it looked okay with the french seam (it's not showing in the picture) so I'll leave it that way for now. Or forever.
4. The ends of the wrap are tapered to make it easier to tie and I just lined up the ends and eyeballed it. Trust me, no one else will notice it's not perfect. In fact that's the nice thing about the knit, the edges aren't finished since I don't have a serger (someday!) and it looks just fine.
5. When I first put it on (after watching this video) it was WAY TOO LONG. I mean, after wrapping it around my waist and tying it, I was still tripping over it. Huge bummer because this could have been an even cheaper wrap. I ended up cutting an extra 5 feet off and now it fits perfectly.
6. I used an interlock knit (you need a one-way stretch) and I somehow managed to miss that it was made of polyester, I would have much preferred cotton. We'll see how that works out in the summertime...
7. Considering the patterned fabric didn't work out, I really wish I would have chosen an interlock in a fun color. I was having a hard time matching solids to prints when I was starting out with the solid interlock. So I reversed that which is why I ended up with a boring gray. I actually love gray but this one looks almost like slate blue on its own.
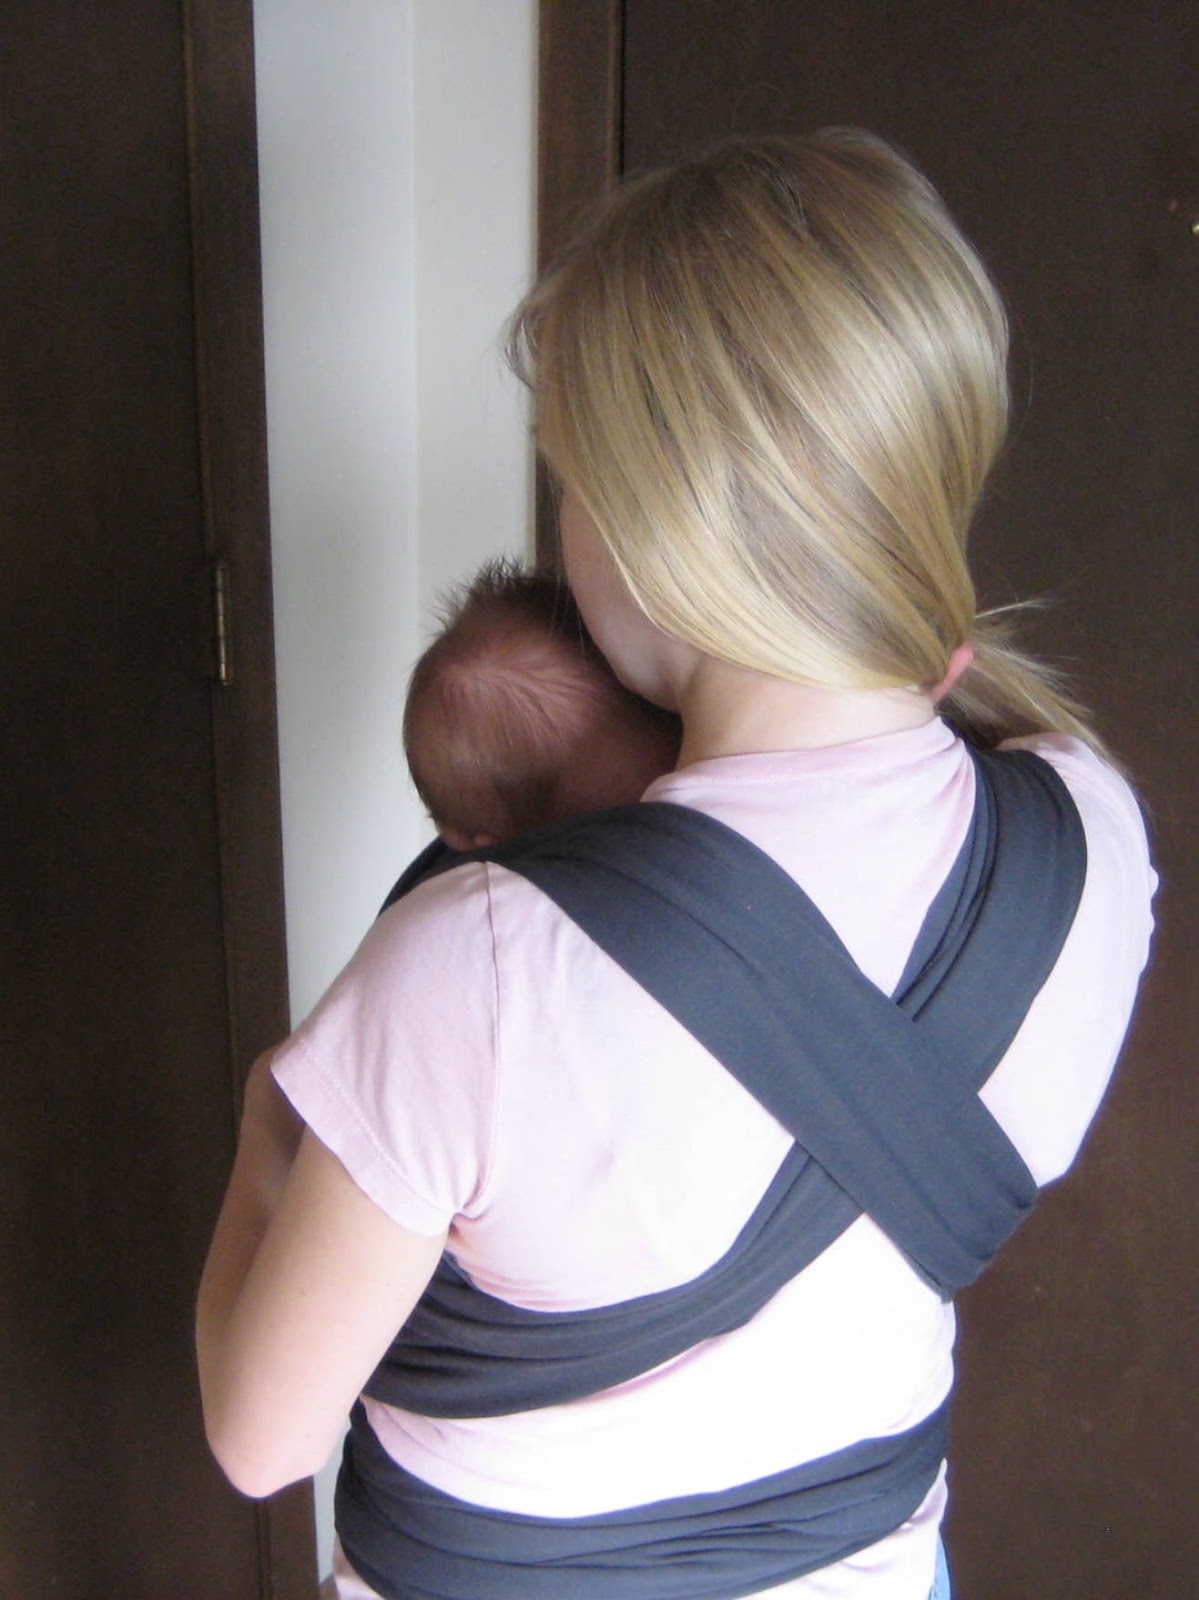
Overall, I'm loving the wrap. It's such a simple design (really, just a very long strip of fabric), it's easy to put on, and Isaac loves it. Plus, it's more comfortable, less bulky, and easier on the eyes than my front pack. I can't wait to use it for grocery shopping instead of lugging his carseat in. (I have yet to go anywhere with him by myself.)
You can find instructions and videos for several different holds here.
4 comments:
Very cool! I love that grey color.
~ J
So you would have only bought 2 yards? Thanks for the review and link, I think I'm going to make one too!
That's awesome! I wish I would have seen this before when I needed a wrap.
He looks so cozy! I love that newborn, cuddly stage...and the smell of a newborn.
Post a Comment